
A fence works every day—blocking wind, marking space, and keeping kids and pets safe. Like a roof or driveway, it lasts far longer with routine care. A simple plan can add 5–10 years to the life of wood, metal, or vinyl. Twice-a-year checkups (spring and fall) catch small issues before they grow, saving money and hassle. You don’t need special tools—just a keen eye and a checklist.
- Look for loose boards or rattling panels.
- Check posts for movement after rain.
- Note rust spots, cracks, or mildew.
Keep light notes with dates. You’ll spot patterns, fix weak points faster, and keep the whole fence sturdy.
Plan Seasonal Inspections
Break the year into four quick passes: spring, summer, fall, and winter. Spring reveals freeze-thaw damage; summer stresses hardware; fall prepares for storms; winter exposes leaning posts. Use a screwdriver and a level to test fasteners and plumbing lines. A post that wiggles more than ¼ inch at the top likely needs attention.
- Spring: tighten hardware, wash surfaces.
- Summer: oil hinges and latches.
- Fall: seal wood and clear vegetation.
Log repairs and costs. A 15-minute walk-around each season often prevents bigger fixes, like resetting posts or replacing panels after a storm.
Cleaning That Actually Works
Dirt holds moisture; moisture feeds rot and rust. Cleaning is the cheapest way to add years. For wood, aim for a gentle wash: 1,200–1,500 PSI if using a pressure washer, fanning the tip, and keeping it 12–18 inches away. For vinyl and metal, a bucket of warm water with mild detergent is usually enough.
- Pre-soak from the bottom up to avoid streaks.
- Scrub mildew with 1:10 bleach and water.
- Rinse thoroughly to protect coatings.
Let wood dry to under 20% moisture (a $20 meter helps) before staining or sealing. Clean hardware as well—grit in hinges wears them out faster than age.
Wood Fence Basics
Wood is strong and repairable, but it needs finish and airflow. Keep soil off the bottom rails; ground contact can cut service life in half. Use exterior screws, not nails, to reduce loosening. For new or bare wood, apply a penetrating oil or water-borne sealer with UV blockers; reapply every 2–3 years depending on sun exposure.
- Target post depth: ⅓ of the post length.
- Maintain a 2–3 inch gap above grade.
- Trim plants 6–8 inches away.
Cedar and redwood resist decay, while treated pine offers value. Expect well-kept wood fences to last 15–25 years; poor drainage can drop that to under 10.
Metal Fence Care
Steel and iron excel at strength but dislike standing water. After rain, walk the line and dab any orange blooms with a rust converter, then prime and topcoat. For chain link, check tension bands and look for sag between posts; spans over 10–12 feet may need a brace or an extra line post.
- Use a zinc-rich primer on bare metal.
- Touch up chips within 48 hours.
- Grease hinges with lithium grease.
Galvanized finishes resist corrosion, but cut edges need paint. With quick touch-ups and dry footing, metal fences often run 25–40 years without major work.
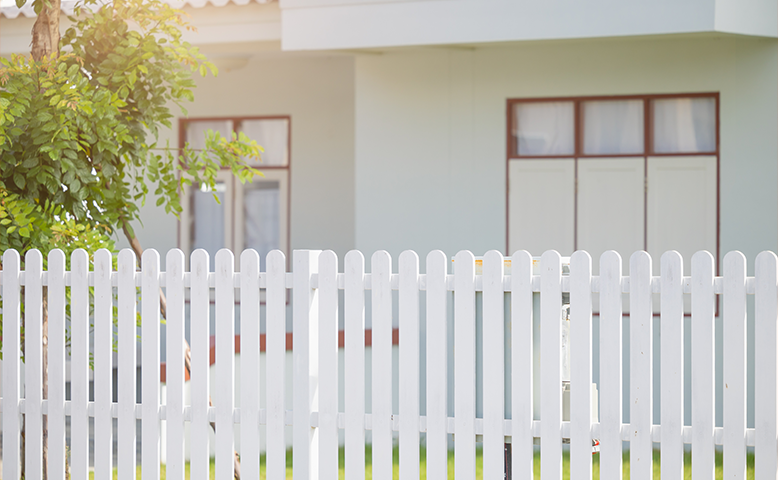
Vinyl Fence Tips
Vinyl doesn’t rot, but it can crack from impact or expand in heat. Leave room for movement: brackets and rails should have slight play. Clean with gentle soap; avoid solvents. If algae appears, a soft brush removes it without scratching. Inspect caps; missing caps let water and pests into hollow posts.
- Keep mower and trimmer strings away.
- Use non-abrasive pads only.
- Snap loose caps back with PVC glue.
Vinyl expands on hot days; a slight creak is normal. If panels bow, reduce rail tension and confirm posts are plumb. A cared-for vinyl fence can last 25–30 years.
Fasteners and Hardware
Small parts fail first. Use exterior-grade screws (#8 or #10) for rails and pickets; stainless steel or hot-dip galvanized works best outdoors. Galvanic mismatch causes corrosion—avoid mixing stainless screws with plain steel brackets. Replace rusted hinges and latches as sets, not one piece at a time.
- Check the torque with a hand driver.
- Add nylon washers to quiet hinges.
- Use thread-locker on gate bolts.
Consider tamper-resistant screws near public areas. A $15 assortment box in the garage can turn a weekend headache into a 20-minute fix.
Footings and Drainage
Most failures start underground. Posts should be set 24–36 inches deep (deeper in frost zones), centered in concrete bells that flare at the bottom. Slope the concrete ½ inch above grade so water sheds away from the post. Avoid encasing wood directly—leave a thin collar of gravel at the top for drainage.
- Add 2–3 inches of gravel under posts.
- Keep sprinklers from soaking post bases.
- Regrade the soil to pull water downhill.
If a post leans after a storm, check the hole for washout. Dry-pack with gravel around the base and tamp in lifts before committing to a full reset.
Gates That Don’t Sag
Gates concentrate the load at the hinges. A good rule: the gate frame needs a diagonal brace from the lower hinge side up to the latch side. Use 4-inch hinge screws into solid framing and a drop rod for wide double gates. Keep a ½-inch latch gap to accommodate swelling and seasonal movement.
- Level the gate with shims first.
- Oil hinges twice a year.
- Add an anti-sag turnbuckle if needed.
If the latch binds, check for a twisted post before adjusting hardware. A stable gate reduces racking that can loosen neighboring panels.
Weatherproof Coatings
Sunlight breaks down finishes; water infiltrates tiny checks in wood. Use a penetrating stain with UV inhibitors for wood; it soaks in and won’t peel. On metal, choose an acrylic or alkyd exterior enamel over a rust-inhibiting primer. Light colors reflect heat and age more evenly than dark tones.
- Recoat the south-facing sides first.
- Test a one-board patch for color.
- Respect dry times on the can.
Aim for a film thickness that the label recommends (often two coats). Too thin won’t protect; too thick may crack. Keep a labeled touch-up jar for quick repairs.
Safety and Budgeting
Good habits keep projects safe and affordable. Wear eye protection and gloves during washing, cutting, or grinding. Lock pets indoors when gates are off. Create a small annual budget—1–2% of the fence’s original cost is a practical target for upkeep and parts.
- Store spare pickets and caps dry.
- Keep serials of stains and paints.
- Photograph repairs for records.
Simple math helps: a $6 tube of sealant or a $12 hinge often prevents a $200 panel replacement. A steady routine beats occasional big overhauls.
Keep It Standing
A fence lasts when you give it time, airflow, and quick fixes. Inspect in spring and fall, clean when grime shows, and seal or paint on a steady cycle. Keep hardware tight, posts dry, and gates braced. Track small costs and dates—you’ll see patterns and act early. With this steady rhythm, most fences meet or beat their expected lifespans: wood 15–25 years, vinyl 25–30, metal 25–40. If you’d rather hand off the work, schedule a visit with Sam Restoration & Construction for a friendly assessment and a clear plan to keep your fence strong all year.